Education 6 min read
How to Prepare Your Backyard for a Barrel Sauna
By Nomad Sauna
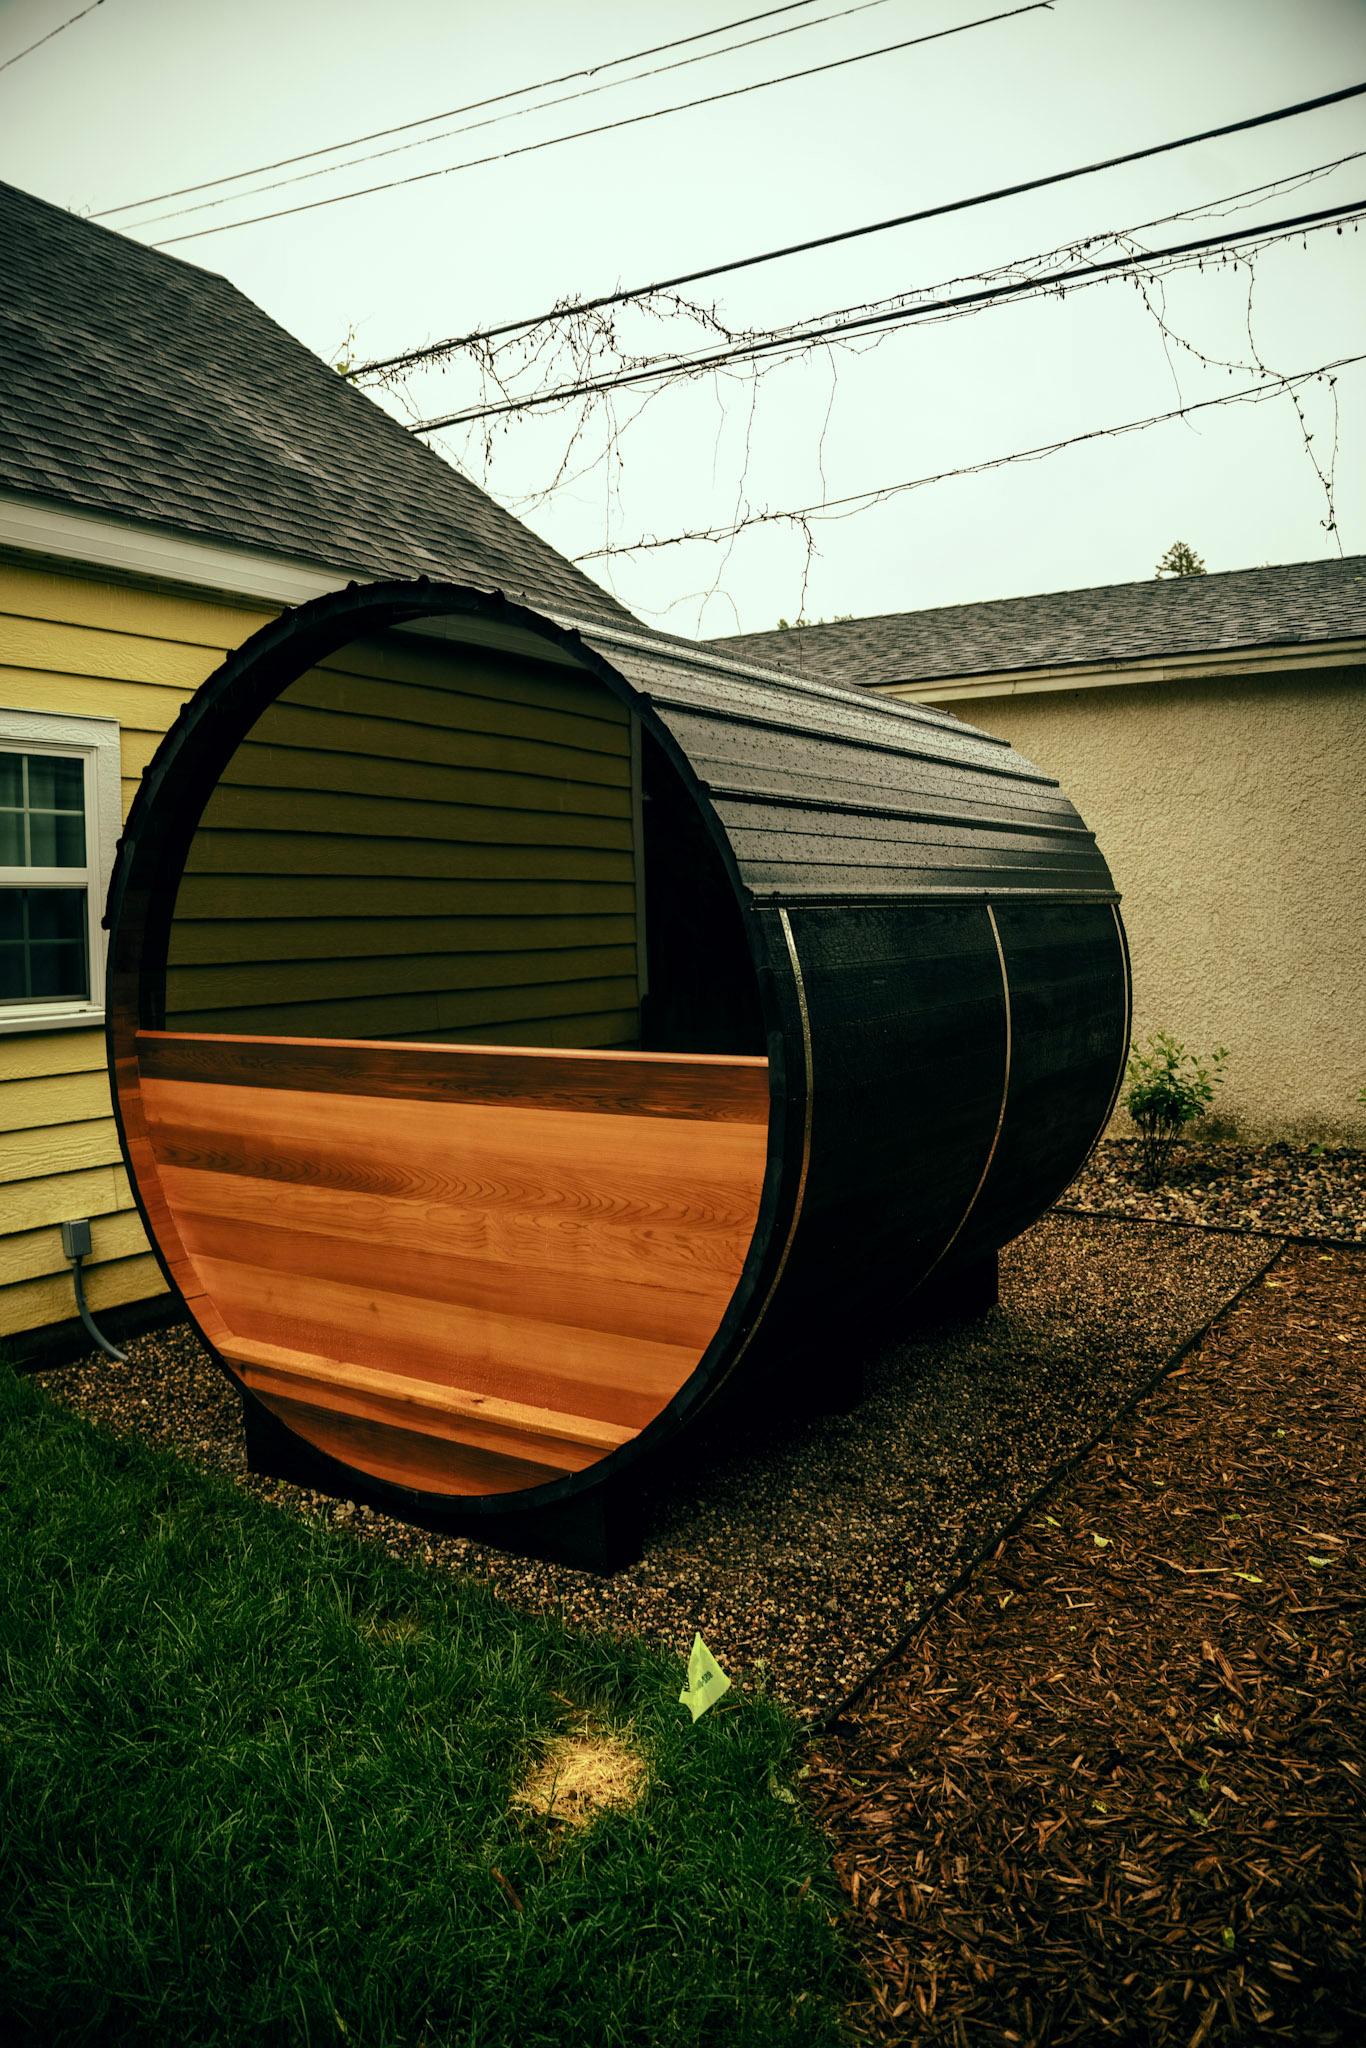
How to Prepare Your Backyard for a Barrel Sauna
Prep work comes down to five things: pick the spot, build the pad, sort the electrical, plan the delivery, and check on permits.
What You Actually Have to Do (The Short Version)
Wood-fired and propane models skip the electrical step entirely unless you add lighting. Electric models need the dedicated circuit. That single fork drives most of the prep difference.
Step 1: Choose the Right Spot
Give it room and access
A barrel sauna wants a few feet of clearance on the sides for airflow and maintenance, and it wants to be reachable. The single most overlooked detail is the delivery path. The sauna arrives whole, so think about how a 10×7 Barrel gets from the street to its final spot. Gates, fences, tight side yards, and soft ground all matter. If the only route is blocked, a crane solves it.
Think about the experience, not just the logistics
The best spot balances three things: a short walk from the house (you will use it more in winter if it is close), proximity to whatever you cool off in (a cold plunge, a hose, a lake, or open air), and a decent view from the glass. Privacy from neighbors helps too. If you plan to add a cold plunge for contrast bathing, site the two together now so you are not stepping across the whole yard between hot and cold.
Keep the power run short (if you are going electric)
The closer the sauna sits to your electrical panel, the cheaper the install. Long wire runs cost more in labor and materials — worth weighing against the view.
Step 2: Build the Foundation
This is the part people overbuild. A barrel sauna does not need a concrete slab. It needs a level, well-draining base, and compacted gravel is plenty.
The Nomad spec: a compacted gravel pad about 7 feet wide by the length of your sauna, roughly 5 inches deep. Gravel drains water away from the base rather than trapping moisture against the staves — the same logic that has made cedar the material of choice for barrel saunas across generations of Nordic craft. The wood breathes; the base should support that.
Get the pad level. The barrel sits on cradle supports, and a level pad keeps the door swinging true and the load even. This is the one prep step where it pays to be fussy.
Step 3: Sort Out the Electrical
Wood-fired or propane: little to nothing
If you go wood-fired or propane, you may not need an electrician at all. The only common electrical add is interior lighting on a separate 120V circuit — or skip it entirely with a solar lighting option.
Electric: one dedicated circuit, licensed only
An electric barrel sauna needs a dedicated 240V circuit on its own 50-amp breaker, installed by a licensed electrician. Do not improvise this.
Your electrician will pull the circuit from your panel to a disconnect near the sauna. Running cost is lower than people expect: roughly a dollar a session, around $20 a month if you use it four times a week. An 8-footer reaches around 165°F in about 75 minutes and 180°F in about 90 minutes, so plan the circuit knowing the stove does real work.
Step 4: Plan the Delivery and Placement
Nomad handles logistics from the Hudson, Wisconsin workshop, fully assembled. Your job: pad built, electrical roughed in for electric models, and a clear path or crane access confirmed.
On delivery day, the unit is placed onto its cradle on your gravel pad. Once it is set — and, for electric models, the electrician makes the final connection — the sauna is ready to heat. No on-site assembly, no panel-fitting, no weekend with an Allen key.
Step 5: Check Permits and Approvals
For most homeowners, permitting is light. Because the unit arrives assembled and sits on gravel as an accessory structure, many municipalities treat it differently than a structure you frame and roof on site. Where any sign-off is involved, it is often minor: in some cases a quick video inspection of the electrical rather than a full permit pull.
Verify locally before you commit to a spot. Rules change for HOAs, for setbacks from property lines, and for anything near water or wetlands. They also change entirely if you plan to rent the sauna out or run it commercially, which is a different regulatory category.
Permit requirements for accessory structures vary by municipality and HOA. While barrel saunas installed for personal use on private residential property generally don't require building permits in most U.S. jurisdictions, always verify with your local building department before installation.
After It Lands: First Heat and Easy Upkeep
Maintenance is minimal. The "bake off" method: when you are done, leave the stove running with the door closed, and the heat dries the interior out. No harsh chemicals. A hose-down now and then is the whole job. Clear-grade Western Red Cedar and a properly stoned heater do the rest.
If you want the exterior to need even less attention and to weather to a deep matte black, the Yakisugi hand-charred finish is the upgrade to consider at order time. It repels insects and water and is far easier to live with over the long haul than a finish you have to maintain.
A Quick Note on Mobile
If your "backyard" is really several properties, or you want to take the sauna to a lake or a friend's place, a fixed pad is not your only option. Nomad's Mobile Series puts the same cedar barrel on a purpose-built road-legal trailer, skipping the pad and permanent electrical entirely. That is a different decision with its own trade-offs, and the buying guide walks through it.
Every Nomad barrel sauna is handbuilt in Hudson, Wisconsin and delivered fully assembled. If you want help choosing a size, a stove, and a spot for your yard, schedule a 30-minute consultation or request a quote.
Frequently Asked Questions
Do I need a permit for a backyard sauna? In most U.S. jurisdictions, a barrel sauna installed for personal use on private residential property is treated as an accessory structure and generally does not require a building permit, since it arrives assembled and sits on gravel rather than a poured slab. HOA rules, setbacks, and waterfront or rental use can change this, so verify with your local building department first.
What kind of foundation does a barrel sauna need? A compacted, level gravel pad, roughly 7 feet wide by the length of the sauna and about 5 inches deep. Gravel is preferred over concrete because it drains water away from the base instead of trapping moisture against the wood.
Do I need an electrician? Only for electric stove models, which require a dedicated 240V circuit on a 50-amp breaker installed by a licensed electrician. Wood-fired and propane models need no electrical service unless you add interior lighting.
How long does a backyard sauna take to heat up? About 75 minutes to reach roughly 165°F and about 90 minutes to reach 180°F on most stoves. Running cost is roughly a dollar per session.
How much maintenance does it take? Very little. Leave the stove running with the door closed after use to let the heat dry the interior, hose it down occasionally, and skip harsh chemicals. The cedar and heat handle most of it.